
New Advanced design tab: shape every part of your form
Your form, your look 🎨
The Design panel now has an Advanced tab. The Basic tab still gives you the quick wins (theme, colors, font, corners, background, logo). Advanced goes deeper, section by section:
Form: pick Narrow, Default or Wide, or set an exact width. Put each question in a card with its own color, corner radius and frosted-glass blur. Tune the padding and the gaps between questions.
Typography: titles and question labels get their own font, size, weight, letter spacing and alignment. A bold display font on the welcome screen no longer has to carry into every question.
Inputs: choose underline or box style for answer fields, and set their fill, text color, corners and padding.
Choices: set fill, text color and corner radius for multiple choice, checkboxes, dropdown options, ranking, matrix and rating scales.
Buttons: corners, text size and weight, alignment, padding, and an optional check mark or arrow on the Submit button.
Every setting is optional, so untouched forms look exactly as they do today. Each section has a one-click Reset to go back to the default look. And you can just tell the AI assistant what you want, for example "put questions in a white card and use a serif font for titles".
To try it, open your form → Design → Advanced.
Free on all plans. Happy designing! ✨
Turn off auto-advance on choice questions
Let respondents take their time ⏸️
Until now, Single Select, Dropdown, Opinion Scale, Star Rating, NPS and Scheduler questions jumped to the next question the moment an option was picked. Great for speed, not so great when people want to pick, think, and change their mind.
You can now turn that off per form. With auto-advance off, respondents pick an answer and click the button themselves to move on. The button uses the question's own button text, or Next if none is set.
Perfect for:
Survey scales: let people reconsider a rating before it's locked in.
Quizzes and assessments: no accidental answers from a mis-tap on mobile.
Longer, considered forms: keep the pace in the respondent's hands.
To turn it off, open your form → Settings → find Auto-advance and switch it off. It's on by default, so existing forms keep working exactly as before.
Free on all plans. Happy building! 🧭
New Slider block: pick a number or a range
Ask for a number without the typing 🎚️
You can now add a Slider block to your forms. Respondents drag a handle along a scale to pick a value — or turn on range mode and they pick a low and a high with two handles.
Perfect for:
Budgets and pricing: "What's your budget?" answered as $2,000 – $5,000 in one drag.
Amounts and quantities: hours per week, team size, square footage — anything where a number on a scale feels more natural than a text box.
Percentages and confidence: "How likely are you to…?" from 0% to 100%.
Here's what you get:
Your scale, your rules: set min, max, step size, and a default value.
Formatted live: add a prefix or suffix like $ or kg, choose a thousand separator, and respondents see the formatted value update as they drag.
Range mode: flip one toggle for two handles. Answers show as "low - high" in Submissions, exports, Google Sheets, and webhooks.
Works with logic and calculations: slider answers are numbers, so every numeric condition just works.
Averages in Summary: see the average answer (or average low and high) for each slider at a glance.
To add one, open your form in the builder, add a block, and pick Slider.
Free on all plans. Happy sliding! 🎯
Download your form as a PDF
Take your form offline 🖨️
You can now download any form as a print-ready PDF — your questions, numbered in order, with tickable boxes for choice questions and blank lines for open ones, ready to be filled in by hand.
Perfect for:
Events and field work: collect responses on paper where there's no reliable internet — conferences, clinics, door-to-door surveys.
Reviews and approvals: hand a clean copy of your survey to a colleague or client for sign-off before it goes live.
Record keeping: keep a snapshot of your questions alongside your submissions.
To download, open your form's Share page and click the Download as PDF icon next to the QR code button. The PDF reflects the published version of your form, so publish any draft changes first.
Free on all plans. Happy printing! 📄
Custom webhook payloads
Send webhooks in exactly the shape your tools expect 🔧
Until now, webhooks always delivered Youform's standard payload — great for flexibility, but if your CRM or API wanted {"email": "...", "firstName": "..."} in a specific format, you needed a middleman like Make or Zapier just to reshape the data.
Not anymore. You can now write the exact JSON body a webhook should send, with tokens as placeholders for the respondent's answers:
{
  "email": "{{field:abc123}}",
  "firstName": "{{field:abc123.first_name}}",
  "source": "youform"
}
On every submission, each token is replaced with that respondent's answer and delivered to your endpoint.
Here's what you get:
Point-and-click tokens: every question, hidden field, and variable shows up as a clickable chip — no hunting for field IDs.
Skip the middleman: send data straight to your CRM, Slack workflow, or internal API in the format it already understands.
Everything else still works: signing secrets, custom headers, retries, and delivery logs behave exactly the same.
To get started, open your form → Integrations → Webhooks, and click + Custom payload in the webhook window. Leave it empty and you keep getting the standard payload as before.
Free on all plans. Happy integrating! ⚡
Youform MCP is here!
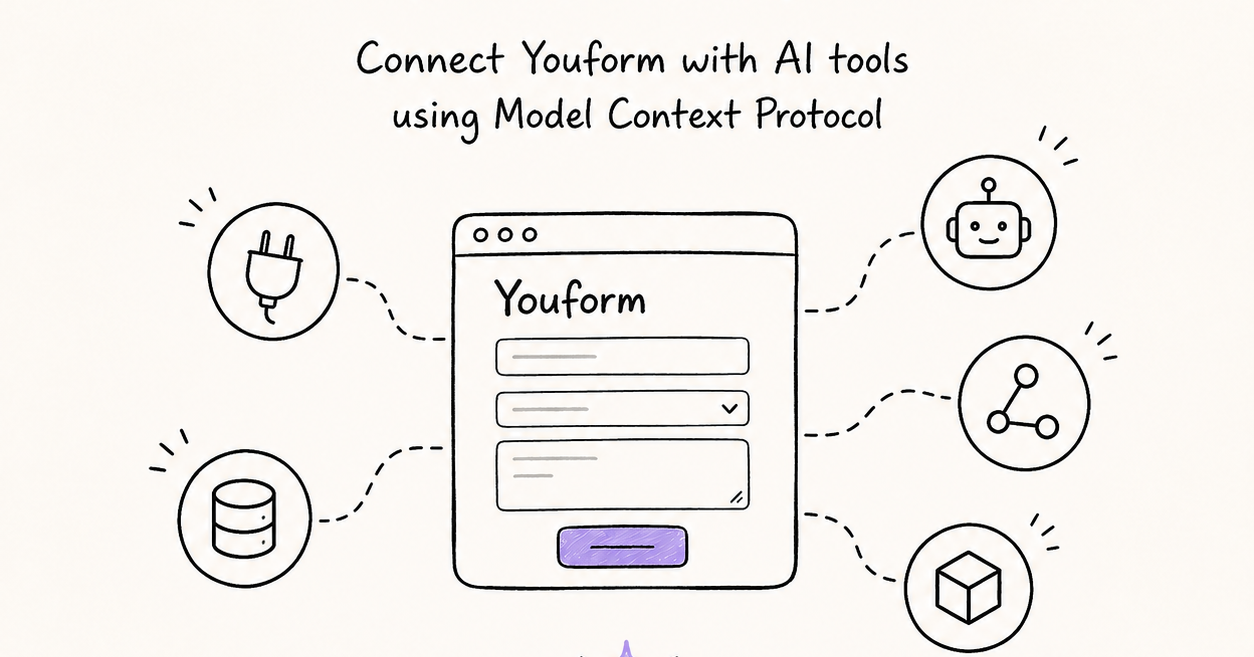
Talk to your forms 🤖
You can now connect Youform directly to Claude, ChatGPT, Cursor, and any AI assistant that supports MCP (Model Context Protocol). Describe the form you want in plain language and your assistant builds it right in your Youform workspace — then analyzes the responses for you once they roll in.
Here's what you can do:
Create forms by chatting: "Make a job application form with a resume upload, a LinkedIn URL, and three short questions."
Edit existing forms: "Add a phone field to my contact form and reorder it so email comes first — then publish it."
Analyze responses without exporting: "Summarize this week's feedback in two paragraphs" or "Which bug reports mention crashes?"
Check your numbers: views, starts, and completion rates, straight in the chat.
How to connect:
Claude: Settings → Connectors → Add custom connector → paste https://app.youform.com/mcp
ChatGPT: Turn on Developer mode in Settings, then add https://app.youform.com/mcp as an MCP connector.
Claude Code / Cursor / other MCP clients: add https://app.youform.com/mcp as an HTTP MCP server.
You'll log in with your regular Youform account and approve access on a consent screen. Your assistant can only see what your account can see — and it can never delete your forms or responses.
Free on all plans. Happy building! ✨
Multiple account for Google sheets
You asked, we listened! We know many of you juggle different Google accounts for work, side projects, and personal use. Managing your form data just got a whole lot easier.
You can now connect multiple Google accounts to our Google Sheets integration. No more logging out and back in just to switch destinations—everything you need is now in one place.
Here’s why you’ll love it:
-
Stay Organized: Send data from your "Work Form" to your business drive and your "Hobby Form" to your personal drive simultaneously.
-
Save Time: Switch between accounts with a single click instead of re-authorizing every time.
-
Collaborate Better: Easily connect to shared team drives across different organizations without the headache.
To get started, just head over to the Integrations tab in your form builder and click "Add another account." Happy syncing!
New integrations page
We have revamped the integrations page and working on lots of new integrations.
AI form assistant is now out of beta
We’ve been hard at work making our AI Form Assistant smarter, faster, and more helpful. Today, we’re excited to roll out the first big wave of improvements to help you build better forms in half the time.
This is just Phase 1 of our journey. While the assistant is already much better at understanding what you need, we’re just getting started. We have even more powerful updates lined up for the next few phases that will truly change how you collect data.
We need your help! Since this is a work in progress, your input is incredibly valuable. Give the new assistant a spin and let us know what you think. Is it hitting the mark? What else would you like to see it do?
Drop us a message or send over your feedback.
Button caption
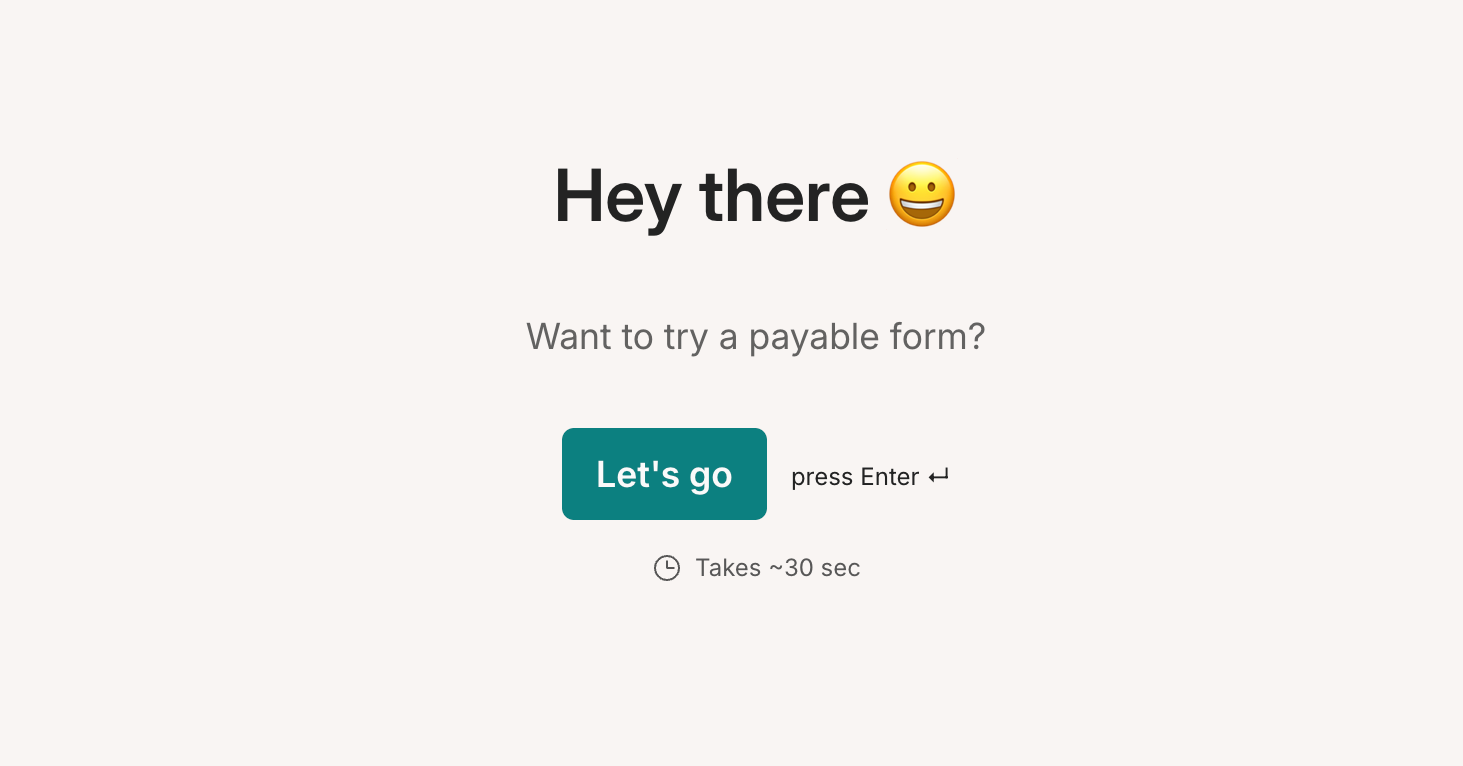
You can now add button caption in statement blocks.
Use cases:
Show completion time like "Takes 2 minutes to complete"
Show social proof like "100 submissions so far"
Show consent line like "By clicking the button above you agree to our T&C"
The time and submissions count are auto calculated from your form and you can adjust them yourself too.